Didn’t get the car fired up today, but still made some good progress. I removed the inlet manifold to start looking at the oil sensors I was fitting. It was so much easier with the bike throttle bodies – 4 hose clips and I had perfect access! Now it’s removing the OEM inlet manifold and a few layers of skin for good measure. I popped the oil filter off and attempted to fit the second sandwich plate to allow me to fit an oil temp sensor (the first is for the cooler) but the extension bolt I had wasn’t the right size, so that was a no go. I instead fitted the Race Technology oil pressure sensor properly, then removed the dash and set about wiring it all in. Before, the VDO sender had just one wire, where as this one wants +5v, earth and signal. I had to source the 5v from the dash’s reference feed before it gets interfered with by pull up resistors but it wasn’t massively challenging. Whilst the dash was apart, I also fitted the wideband controller and the cable to link the ECU with the data logger and dash.

With the dash back together, I refitted the bottom half of the inlet manifold then turned my attention to the injectors. They’d responded well to cleaning, and were well matched. 3 had the same flow rate with 1 just a single cc higher. In cleaning, they’d gained around 20-25cc a minute so must have needed it. The injectors themselves are from a Mazda RX8 – a well trodden route that is pretty much plug and play with the MX5 engine. No wiring changes and slots into the standard fuel rail nicely.

The standard mk1 fuel injector is on the left, with the bright yellow one being the RX8 injector. They’re the same length so all I had to do was swap over the spacer/seal at the bottom. Here they are happily sat in the head, with extreme amounts of flash. God bless point and shoot cameras!

I popped the top half of the inlet manifold back on then turned my attention to the intake air temperature sensor. The only viable plate I had to install this was in the silicone pipe from the cold side of the intercooler. I popped into Merlin Motorsport and picked up one of their self sealing silicone take offs. It was harder to fit than I remember it being but got the job done in the end. Unfortunately the sensor sits inside the take off so isn’t in the flow of air but I’m hoping this isn’t going to be too much of a problem. If it is, I’ll have to get an alloy pipe made up with a boss welded on as I can’t see any other way.

So all that’s left tomorrow is to lower the car back onto the ground so it’s flat, fill the vital fluids and tweak the ECU with the new TPS calibration. I’ll also need to tell it that it now has an idle control valve to play with along with a wideband sensor. I should be able to get a bit of road mapping done over the next few days to get me into a viable state to drive it to mapping on Thursday.
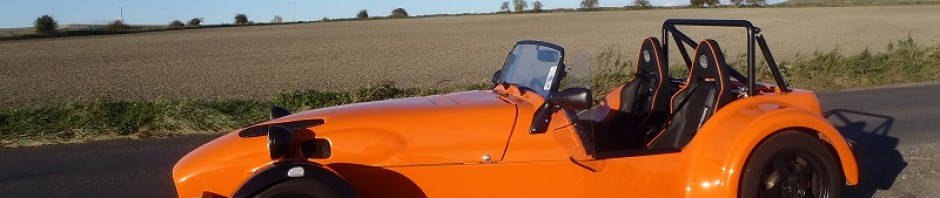
Nearly there!

Loved the itb engine, nice to see what I was thinking would give good power. All the turbo conversions I’ve seen have been on low compression engines. Is it a good idea doing it to your high comp engine?
Yeah, I really liked the power delivery of the ITB build. I wanted more power though, and just as much, if not more, I wanted another ‘project’.
Low compression is required when chasing big bhp or big boost. Big bhp isn’t required here, so I’ve left compression at 10.5:1 to keep response and torque nice and high. Just about to post the results up!